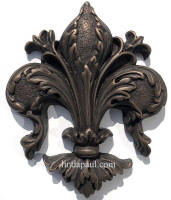
The decorative accents that are in the medallions are made in USA from a urethane substrate and then coated with real metal. They look like solid metal but are not. They are made this way instead of as solid metal so that they can be cut and are light enough to mount within or on top of the tile. The metal finish will not chip, flake or peel from any cutting or drilling. You can cut them with a wet saw As with all handmade products, a certain amount of variation in color, shade, tone and size is to be expected. Such variations only enhance the beauty, character and uniqueness of these products. Please be advised that any one sample cannot represent all pieces as they are all individually polished by hand. The high polish and highlight polish finishes are not sealed and so will naturally age and get some green verdigris color over time (the copper and brass ones ones). The antique patina and oil rubbed finishes do have a sealer on them that prevents most ageing. The nickel silver and stainless does not get any verdigris. By request, and additional 20%, accents can be clear coated for a complete seal. Most green age patinas can be cleaned off with a little original GoJo had cleaner if you do not like the look Cleaning and Care of Metal Accents: Never use harsh cleaners , soap and water is best. Certain foods and acids may cause changes to the finish. The metal coating has the same aging qualities as real metal and needs to be cared for as such. You can bring back the Shine using GoJo original hand cleaner
GROUTING: Once the mortar has set and is dry, you can grout the mosaic portion. You can use a soft toothbrush to remove wet grout from the crevices of metal pieces Grouting Tip from Linda Paul :You can use a cake icing bag or a disposable squeeze bottle to create a thin filling of grout between the stones. Smooth out the grout with your finger or small piece of wet sponge. Do not spread grout over the medallion with a float. Set backs from Heat: All High relief metal coated tile accents installed above a cook top, outdoor kitchen or fireplace must be set 5 to 6 inches above and 3 to 4 inches back from heat source and have a minimum 2 inch set back from the profile (face of the tile). Failure to do so may result in damage and will void the warranty. This includes the oven heat vents. Mosaics should be kept flat in an enclosed box in a cool dry place until installation begins. Never expose mesh-backed mosaics to moisture or temperatures above 95 degrees. To move or transport a mosaic, leave plastic sheet on back and carefully place on a piece of plywood or other solid surface. Always remove plastic sheet before installation. Lift mosaic straight up and place the opposite end of the mosaic in the mortar first. Always take care to align piece in exact location so as not to require adjustment later. Then proceed with mosaic stone installation techniques. You will receive installation and care instructions with the products that you purchase A sealer is recommended for the stones after installation. A sealer/enhancer really brings out the color of the stones
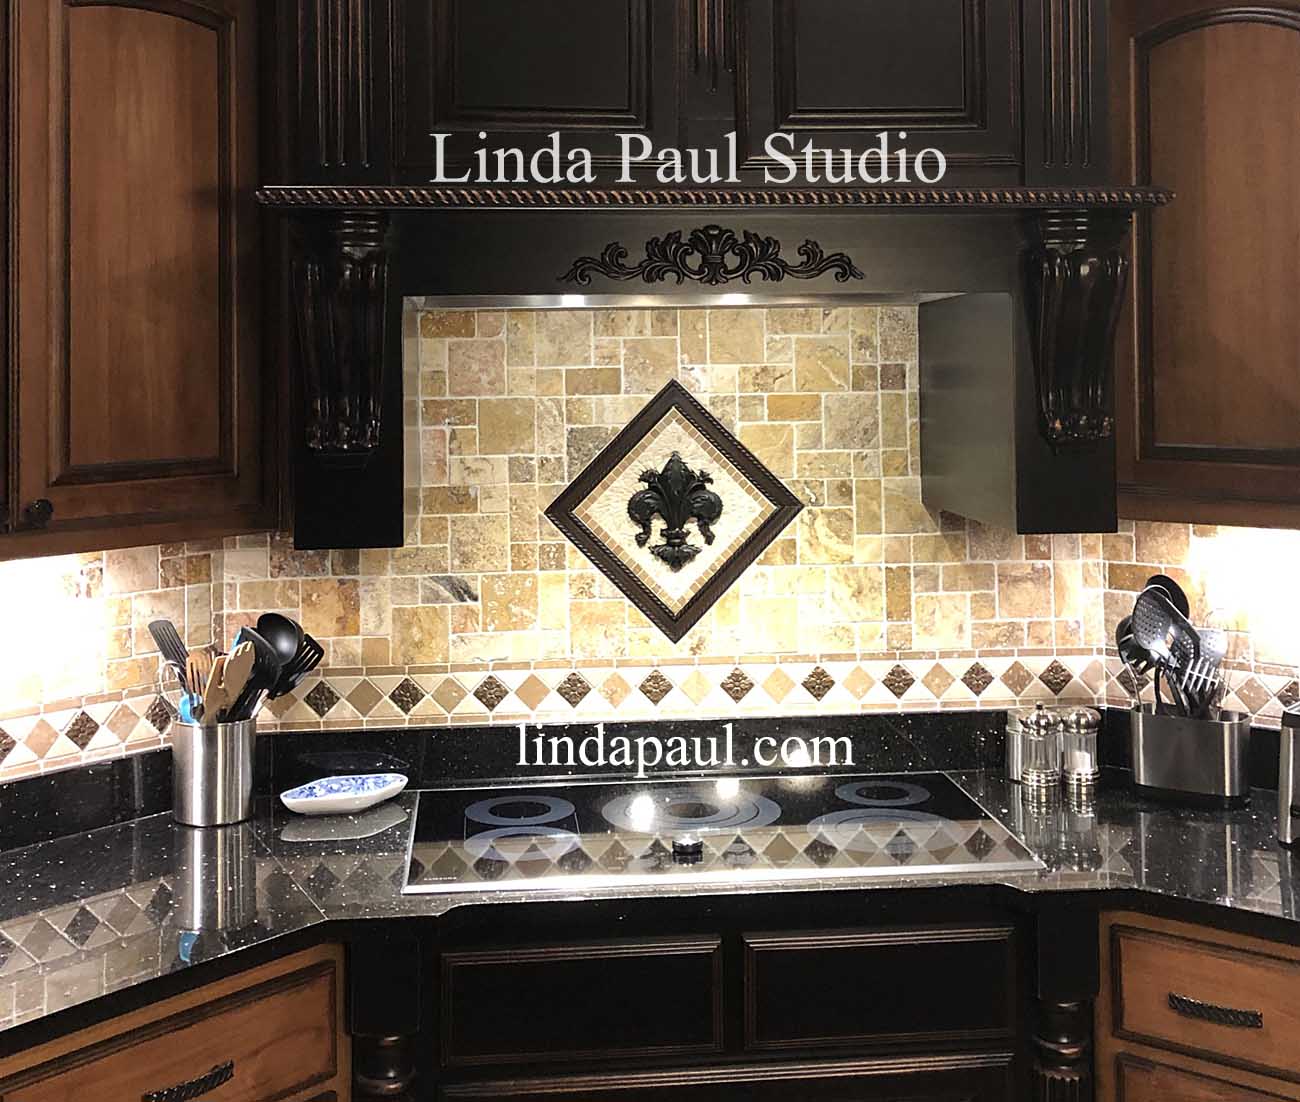
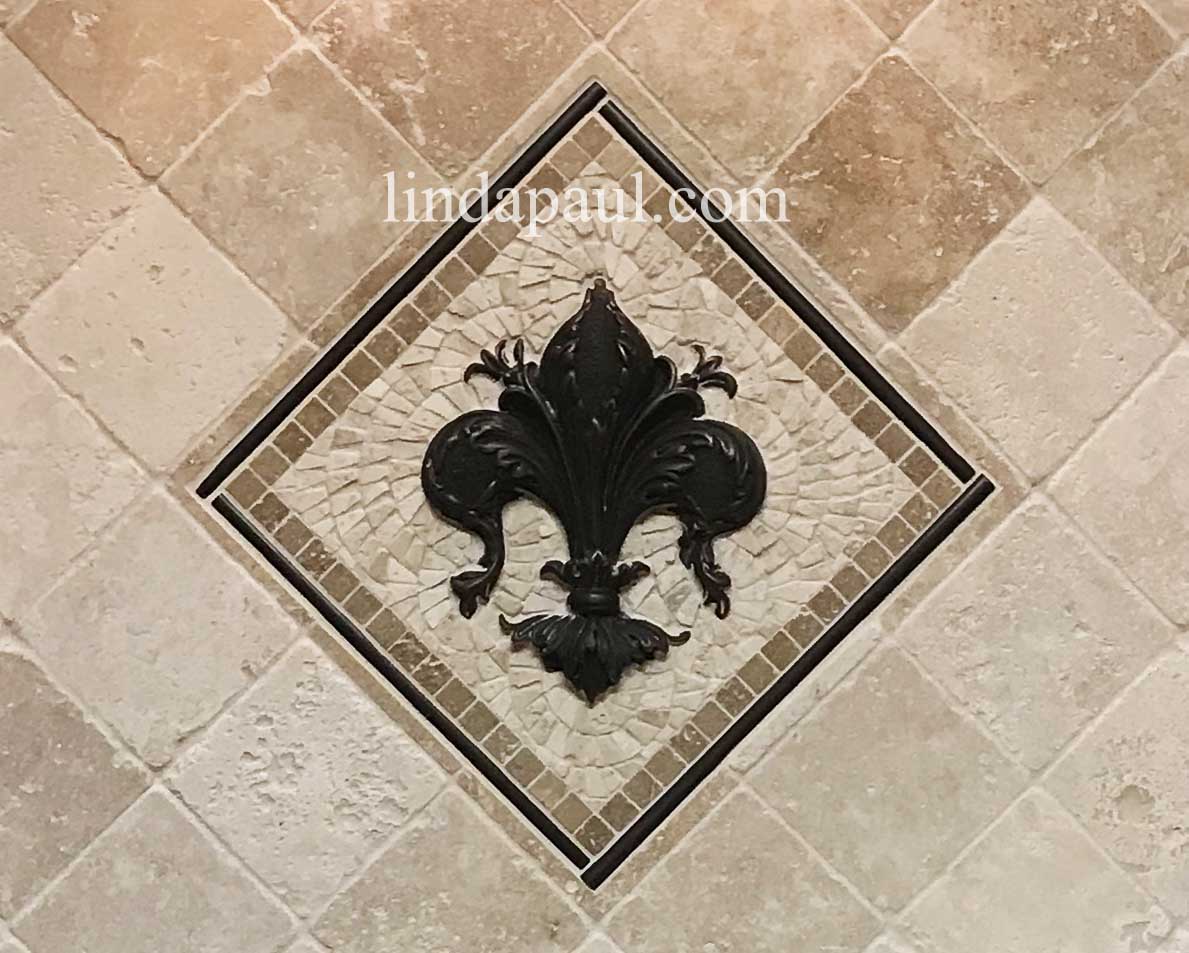
You can make your plain tile backsplash into a masterpiece of fabulousness by gluing our decorative tile onlays over top or in between the tiles
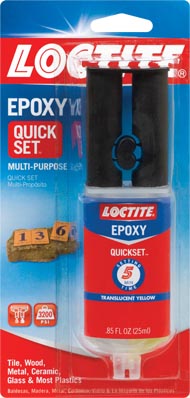
Decorative onlays may be mounted over an existing substrate. Adhere to stone, glass and ceramic using a quickset 2-part epoxy and seal around edges with a clear bead of silicone. Pieces may also be adhered to metal or wood and can be used for exterior application or around a heat source (see warning) using the appropriate adhesive or wood bond such as SikaBond® Construction Adhesive. Materials needed for installing decorative onlays on top of tile using epoxy glue: Rubber Gloves Important: Try a test first to see how the glue that you purchased adheres to your particular surface 1. Plan out exactly where the onlay will be applied to the tile or other surface 2. Make sure both surfaces are clean and dry. 3. Wear rubber gloves and squeeze out the 2 part gel epoxy into a disposable container. Make sure to mix the 2 part together very well. I like to use wooden coffee stir sticks for this. 4. When possible apply the mixed epoxy to both surfaces. For some of the intricate decorative onlays , this may not be possible. Apply glue to the back of the onlay (but not so much that it oozes out the sides) and press it against the surface you are glueing to. Hold each piece for at least 10 minutes without moving it. Even though it says 5 minute epoxy, it takes 10 minutes to hold and a full 24 hours to set. Remove any excess glue that squeezes out the side with a coffee stir stick. (check what color your epoxy will dry to to make sure it is a good match for your application surface. After 5 to 7 days, runs a bead of silicone around the outside edges to keep out moisture. Tip: its much easier to glue an tile accent piece on a horizontal surface, than a vertical one. so if you are glueing the accents onto a sheet of mosaic to, try to do this on a flat table top, then adhere the whole piece to the wall. Care Instructions Our finish is real metal and is considered to be a living finish. As the metal ages, it will take on its own natural look. To avoid damaging the metal finish and to protect the natural beauty of the finish, please follow the Care Instructions carefully. Never use harsh cleaners (such as Lysol®, Pine Sol® or Bleach) or soft scrub cleaners. Harsh chemicals may damage the finish. FOR HIGH POLISH AND HIGHLIGHT POLISH These finishes have no protective coating and will oxidize and age naturally. • • To avoid water spots, dry all surfaces after each use. Stain-Proof™ Original by Dry Treat (drytreat.com) may be applied to protect high polished tile from spots and fingerprints. • Water spots and unwanted patina may be removed by applying a small amount of non-abrasive GOJO® hand cleaner with a soft cloth or gently with extra fine steel wool. • Then buff with a soft cloth. • If you wish to polish tarnished high polish tile, use a product such as Cape Cod® Metal Polishing • Cloth or a non-chalking metal polish. FOR ANTIQUE, OIL RUB, RUST AND WROUGHT FINISHES These finishes have been oiled to enhance and seal the finish. • Stain-Proof™ Original by Dry Treat may be applied first and then mineral oil or oil based polish or cleaner may be used to maintain an oil rubbed appearance and minimize spotting. To remove unwanted green (due to moisture) from antique and oil rubbed finishes use a small amount of non-abrasive GOJO® hand cleaner with a soft cloth. • Extra fine steel wool along with a small amount of non-abrasive GOJO® hand cleaner may be used to remove excess verdi, rust and wrought finishes or to lighten antique and oil rubbed finishes. Gently rub tile until finish is achieved, then buff with a soft cloth. • There is no maintenance required for tile installed below the water line. |
Linda Paul Studio Beautiful Art and Tile


|